Showing posts with label diy. Show all posts

Wednesday, July 1, 2015

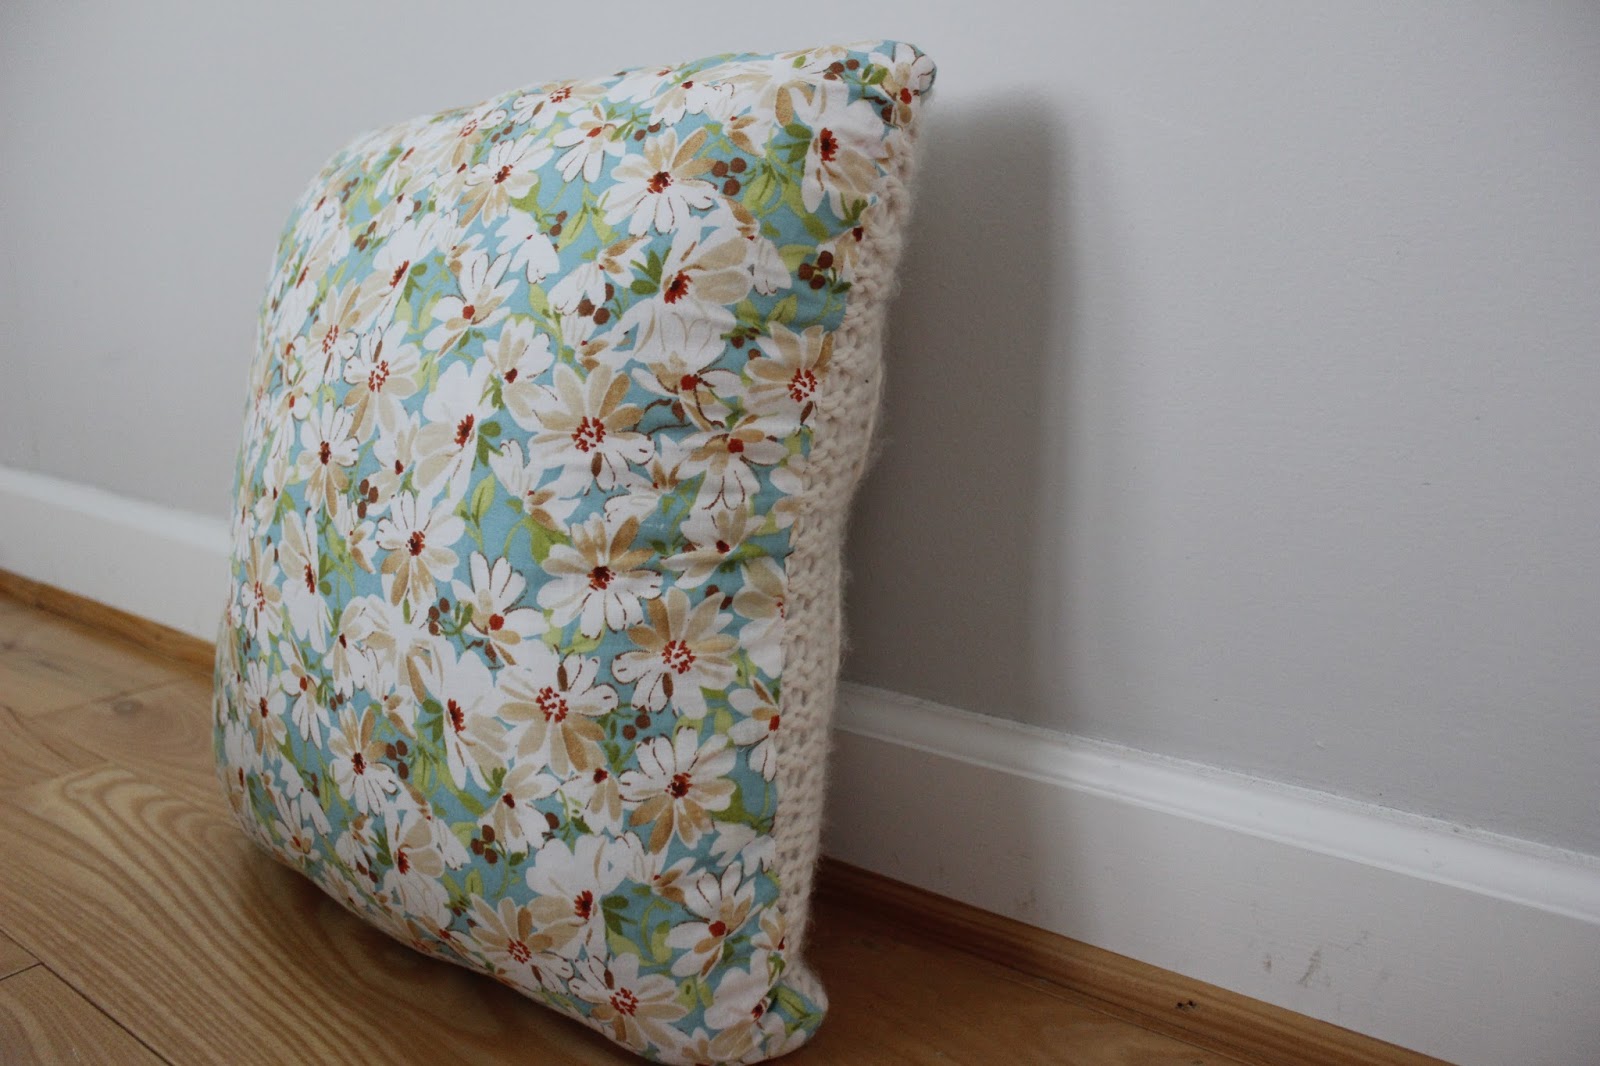
Half-Knit Pillow

Hello, friends!

A few days ago I saw this pattern on Pinterest and I thought, "Oh my word I need to make this."

So I did.


Although not perfect by any means, I am so excited about this pillow. Instead of needlessly describing all the steps for how I made it--because, you know the link up there does exactly that for you--I'm pretty much posting this so I have it "archived" for lack of a better word.

Here it is!


I mean, it has a knitted side and flowers on it. What more could you possibly want? ;)

Bonus (the only in-the-process picture I took):


I didn't have a blocking square so I used my floor to stretch the knit part out. (Not a horrible idea, not a great idea--you get what you pay for.) :)


Monday, October 20, 2014

Cat Pillow

Hello friends!

It's been awhile.

So, this past weekend was my fall break and I had time to work on some things that have been piled up in my room.

One of which is this awesome, yet kind of weird, cat pillow:

I just really like cats, okay....

It's the first pillow I've made and I kind of just went for something kind of strange/humorous just in case I really messed up (which, honestly, it's a pillow... it's probably the easiest thing you could possibly sew) howeverhere's the "how-to" I followed, and here's how I did it:


^^
I went and bought the pillow insert, the cat fabric and the khaki fabric.

Hey, we're not creepy or anything.


^^
Then, I measured/cut how much fabric I needed to cover the pillow, but not so much that it was super loose.
(I think my pillow was 16x16" or something... I can't remember now.)


For the back, you'll need to cut two pieces of fabric, equaling just a little bit longer than the front piece in total. (That way they can overlap each other without the pillow insert showing.


Then, I checked to make sure the edges lined up pretty well.

On the two back pieces, I creased, ironed, and pinned one of the longer edges to create a finished seam.


After that, I sewed the seams.


^^^
This is what the seams look like before I actually sewed the pillow together.


I laid the front piece face up and then laid the back pieces face down on top of the front piece to pin them. (At this point, the pillow hasn't been sewn, but it's still "inside out.")


Then I sewed along the pinned edges (leaving the middle open.)

Here's the cover without the pillow.

:) Finished: 


Thank you for being awesome.

Follow me on pinterest!

Saturday, September 13, 2014

Gifts Board & Necklace Rack

Hello, friends!

It's been awhile. I moved to college a month ago 2 days from now (August 15th). That means I haven't been home to work on the things I want to get finished, nor have I had the time, BUT I did want to post this quick little snippet of some things in my dorm room.

Before I actually get into my dorm stuff, I wanted to mention my last gifts "board":


^
I began counting in August of 2013. A little over one thousand gifts are displayed right here: some very, very, very difficult to accept, others as easy as breathing. It was a highlight of my week last week to read these when I went home, reminding me of all the beautiful (small and big, easy and hard) things God places everywhere in every season, literally and metaphorically, to remind me of His love for me. It's been a hard year, but I think it's been one of my favorites, which I wouldn't and couldn't have said three months ago. 

I'm starting afresh. I finished this super fun gifts board today:


^
All it is is sticky notes and a bulletin board. The simplicity of counting gifts. Counting the things I'm grateful for. The big and the little, the hard and the easy things. It's based off of the book One Thousand Gifts by Ann Voskamp. I absolutely adore Ann and she inspires people to live in gratitude daily. I've come to realize that the grass is greener where you water it. When you choose to find the good in every situation (yes, even those you may think that there is no good), you enjoy your life more. Really, it's true. We get the choice to be content with what we HAVE. Life as it is, not as it "should be."

So, I challenge you to the Joy Dare. (Increase your happiness by 25% just by counting gifts! It's fun too!) :)

Another thing I made was this necklace rack:


^
Yes, it's a stick painted white. That's literally all.

^
Just because. Here's a little (unfinished) corner of my room.


Thank you for being awesome.
&
Thank you for yeah I don't know what else.


Follow me on Pinterest!

Sunday, August 17, 2014

Scarf Camera Strap

Hello friends!

I made a camera strap!
&
It's not just any camera strap... it's made out of a scarf!

This link will take you to the DIY I was inspired by :)


Let me just please tell you how glad I am that this thing is finished. I'm not a pro at using my sewing machine yet so I ended up doing it by hand. (Ouch.)

Here's what I bought:

  • A scarf (on sale) at Target
  • A scrap of leather (Hobby Lobby)
  • Some split rings--you only need 2 (Hobby Lobby)
  • Some chain closures -- I'd suggest buying different ones than these because they gave me a ton of problems.


^
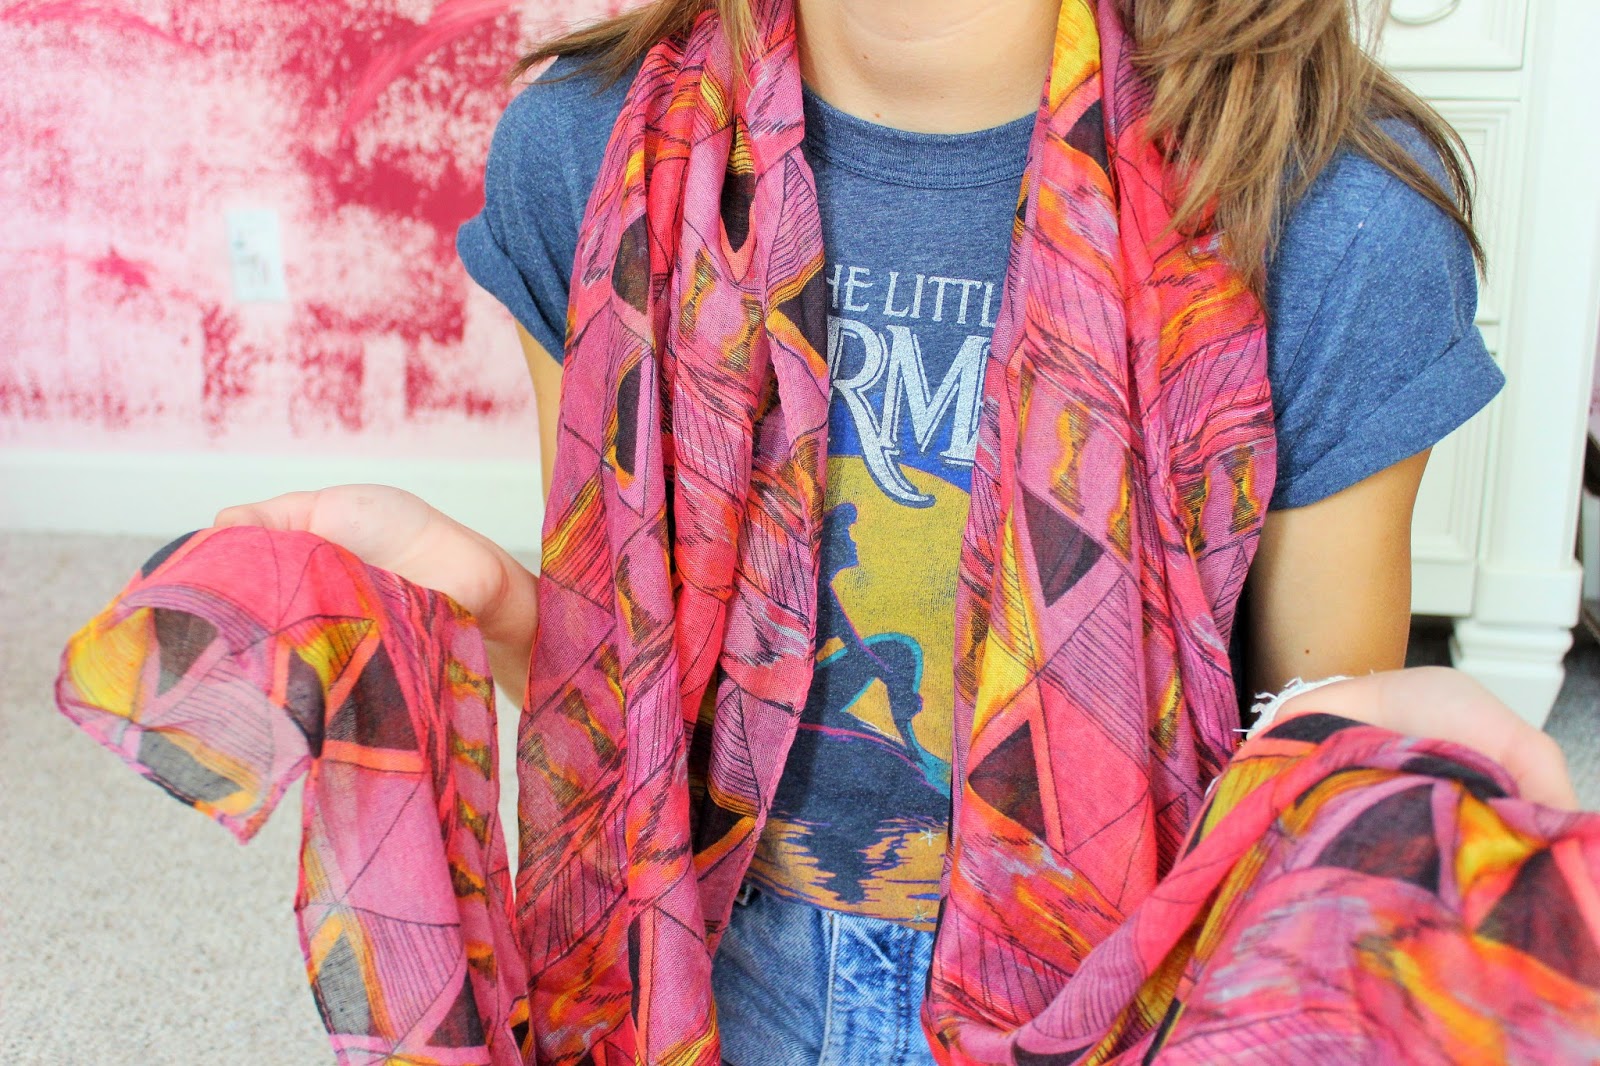
Here's the pattern of the scarf :)


^
I connected the rings and closures.


^^^
I'm sorry for all the selfies... I never have straight hair. :)

Before:


^
I folded and measured the halfway point on the leather and then marked the size for the split rings.


^^^
I cut out the shapes! They look like little bow ties :)

^
I put all the pieces together. Ready to sew!


^^
The scarf was super long so I cut some of it off.


^^^
I bunched up the fabric on the ends and then sewed them so it'd be easier to work with. :)

After:
(It's not a beautiful sewing job, but I put a lot of time and energy into them, ha. Maybe I'll do this again, but learn how to do it on my sewing machine.)


^
I MOVED TO COLLEGE WHAT THE HECK
(Sorry for the ridiculous mess and terrible lighting.)


(Oh and here's some awesome quality iPhone pictures in really awesome lighting because I couldn't physically take a picture of my camera with my camera.)


^^
A kid in the Dominican Republic put that sticker on my camera :)

Thank you for being awesome.

Follow me on pinterest!