Sunday, August 17, 2014

Scarf Camera Strap

Hello friends!

I made a camera strap!
&
It's not just any camera strap... it's made out of a scarf!

This link will take you to the DIY I was inspired by :)


Let me just please tell you how glad I am that this thing is finished. I'm not a pro at using my sewing machine yet so I ended up doing it by hand. (Ouch.)

Here's what I bought:

  • A scarf (on sale) at Target
  • A scrap of leather (Hobby Lobby)
  • Some split rings--you only need 2 (Hobby Lobby)
  • Some chain closures -- I'd suggest buying different ones than these because they gave me a ton of problems.


^
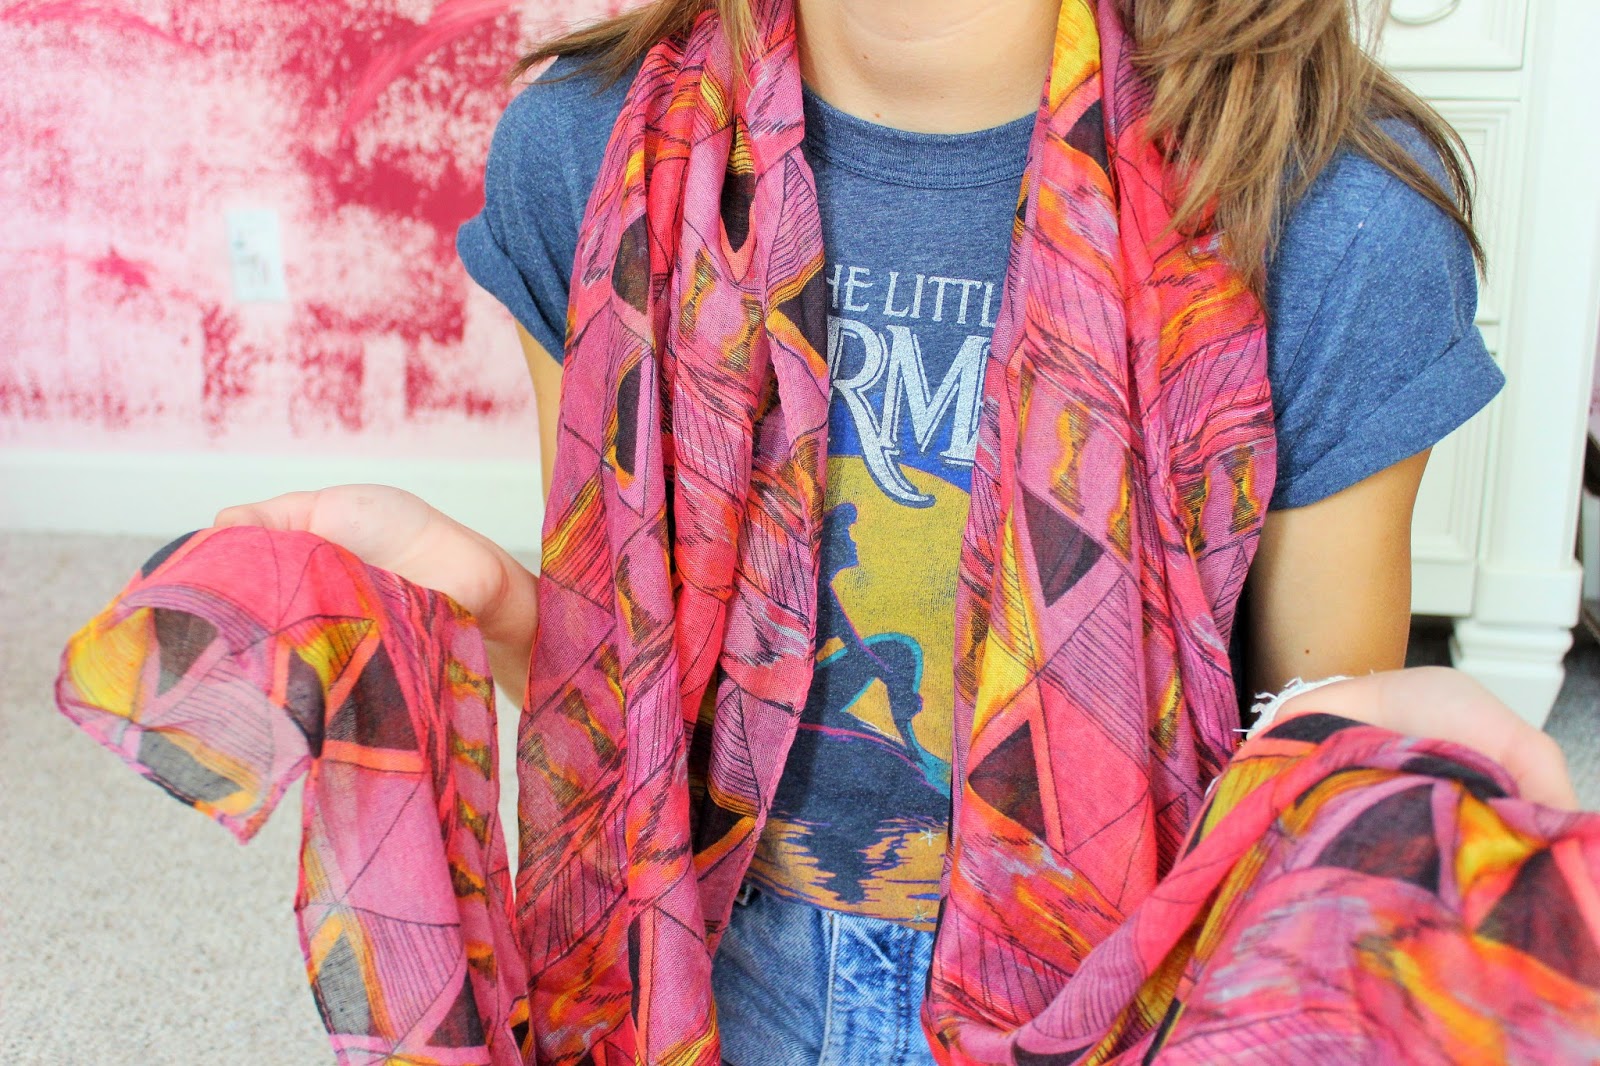
Here's the pattern of the scarf :)


^
I connected the rings and closures.


^^^
I'm sorry for all the selfies... I never have straight hair. :)

Before:


^
I folded and measured the halfway point on the leather and then marked the size for the split rings.


^^^
I cut out the shapes! They look like little bow ties :)

^
I put all the pieces together. Ready to sew!


^^
The scarf was super long so I cut some of it off.


^^^
I bunched up the fabric on the ends and then sewed them so it'd be easier to work with. :)

After:
(It's not a beautiful sewing job, but I put a lot of time and energy into them, ha. Maybe I'll do this again, but learn how to do it on my sewing machine.)


^
I MOVED TO COLLEGE WHAT THE HECK
(Sorry for the ridiculous mess and terrible lighting.)


(Oh and here's some awesome quality iPhone pictures in really awesome lighting because I couldn't physically take a picture of my camera with my camera.)


^^
A kid in the Dominican Republic put that sticker on my camera :)

Thank you for being awesome.

Follow me on pinterest!

Tuesday, August 12, 2014

Tea Box

Hello, friends!

AHH GUYS I MADE A TEA BOX.


I didn't even realize I wanted one until I saw one at World Market and decided it was too plain and expensive for me to buy, sooo:

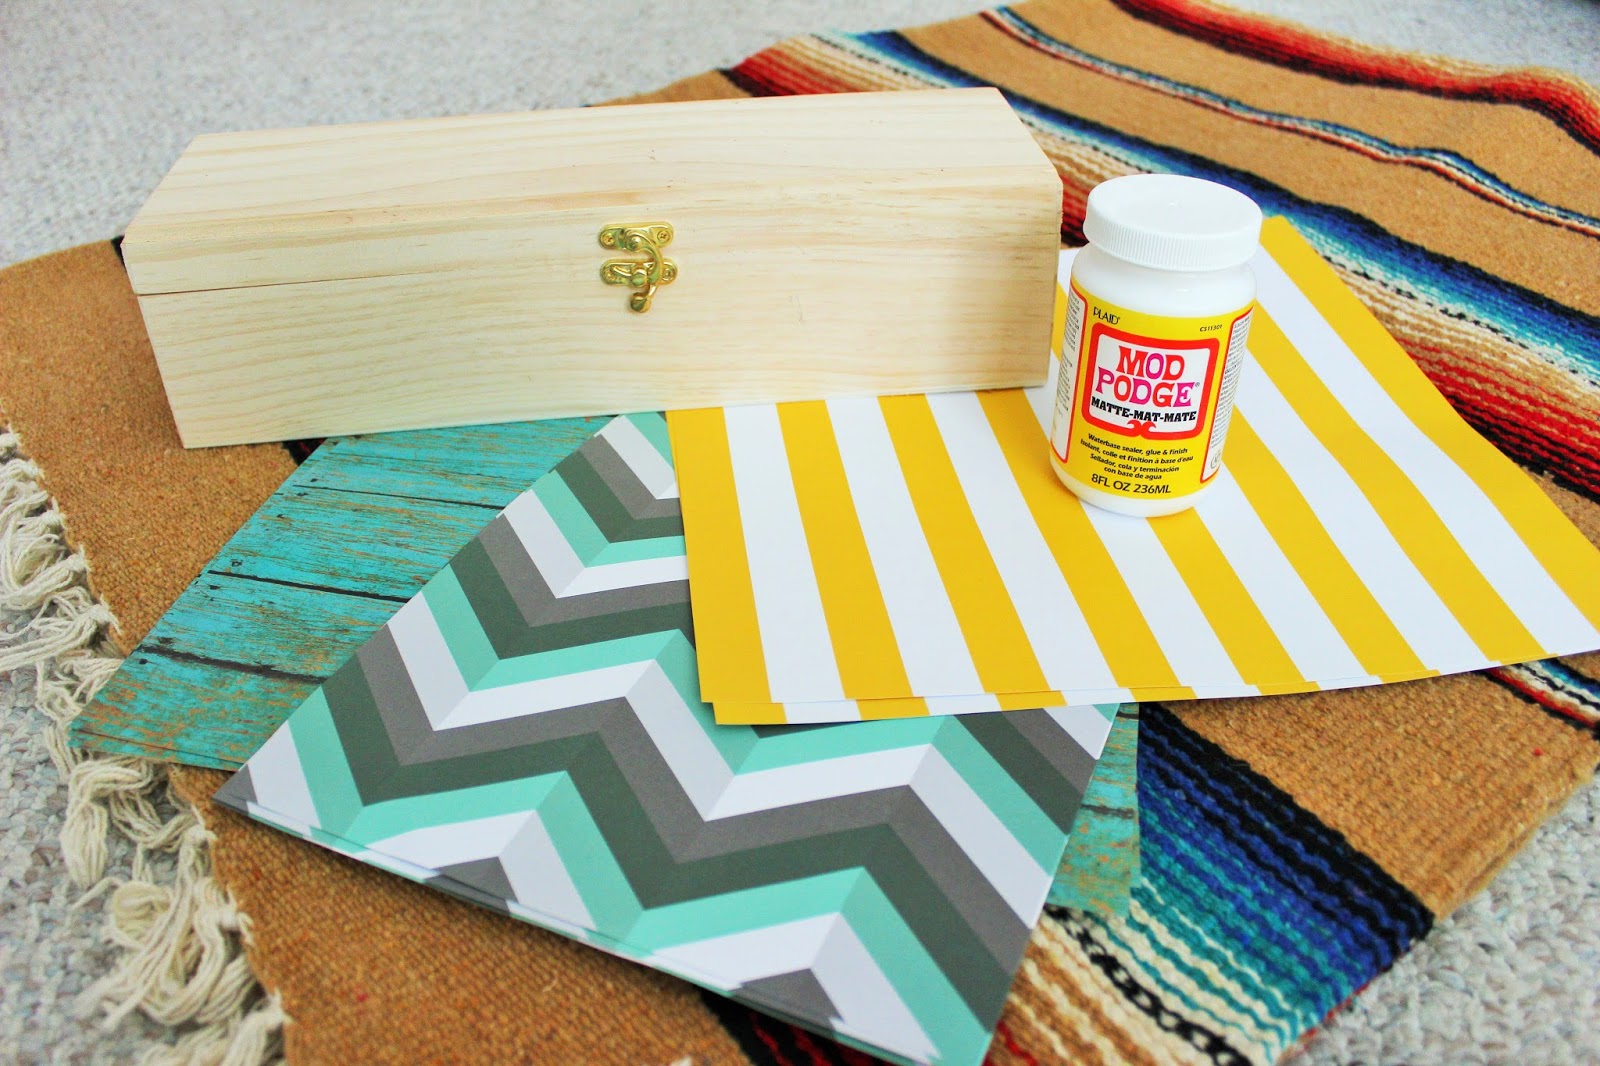
I went to Hobby Lobby and bought the following:

  • A wood box big enough to fit tea bags ($7) (You can find whatever size/shape you want for varying prices)

  • Some scrapbook paper (the amount I spent on paper I used- $3)

I already had Mod Podge (Matte), but I used that too.

 Before:


Here's the paper I used:


^
All of these boxes take up so much space. 


^^
I started cutting/measuring the paper to fit the top and Mod Podged it on :) 


^^
As stated in like every blog post, yellow is my favorite color. So, this is kind of self-explanatory.


 ^^^
In order to get the paper on right, I had to unscrew the lock thing and then screw it back on afterwards.


^^
I did the chevron paper on the sides. :)


^^^
The back had to be done the same way as the front; in order to get the paper on right I had to unscrew the hinges and then screw them back on afterwards.

(Side note: I made sure to unscrew only one half of the hinges first so it would be easier to find the holes after they were covered with paper. Do not  unscrew the whole thing unless you want it to be difficult to screw back on.)

After:


^^
At first I planned on just keeping it without painting "tea" on it, but, obviously, I ended up doing it.


I'M SO EXCITED TO BRING THIS WITH ME TO COLLEGE. 

Thanks for being awesome.
&
For reading this.

Follow me on Pinterest! :)